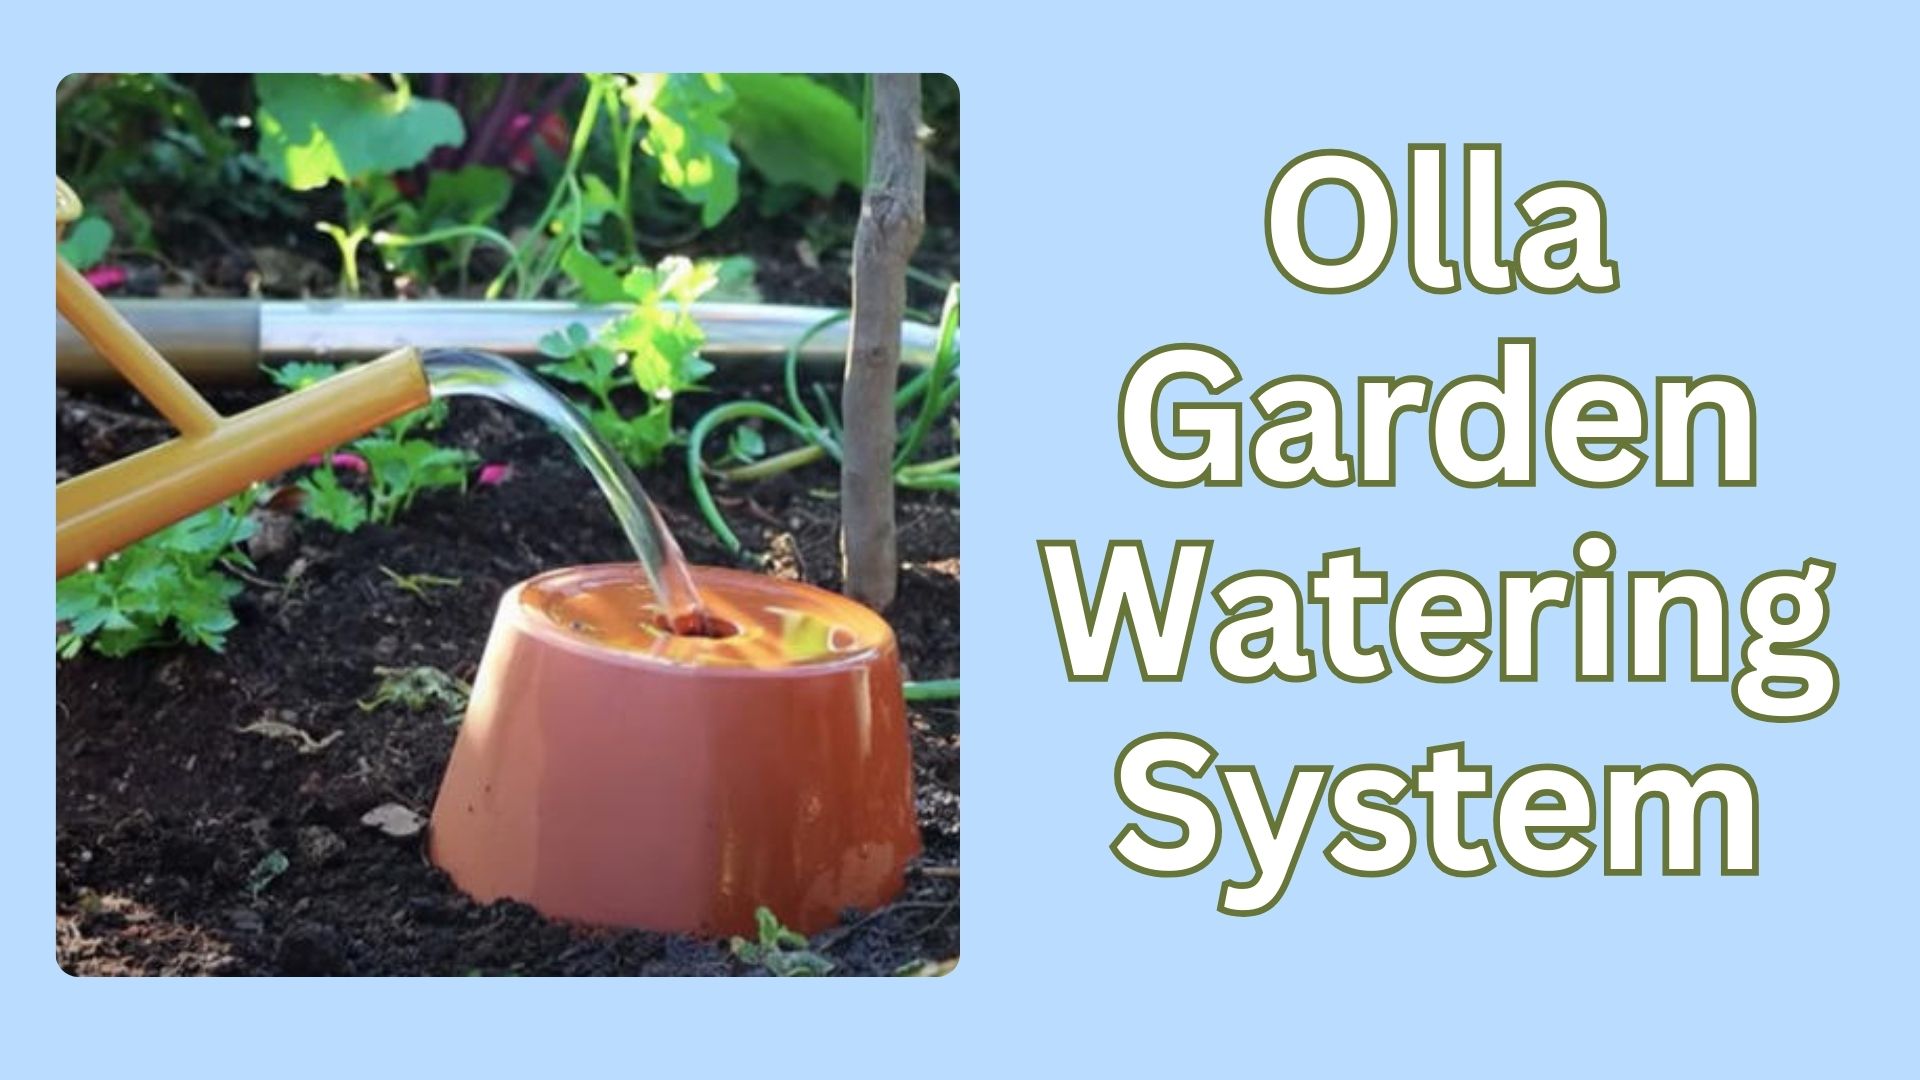
Ollas (Spanish for “pot” and pronounced “oy-yah”) are an ancient form of irrigation, used for over 4000 years. A classic olla is an unglazed terracotta pot, usually round and potbellied with a narrow mouth and a lid. You bury it up to the neck in your garden, then fill it with water and cover it.
The porous clay walls of the olla allow water to seep slowly through the pot and into the soil, reaching plant roots. Suction from soil moisture tension pulls water from the olla when the soil is dry. During heavy rain, the water remains in the pot until needed again. Ollas provide efficient, gradual watering directly at the root zone, making them great for water conservation.
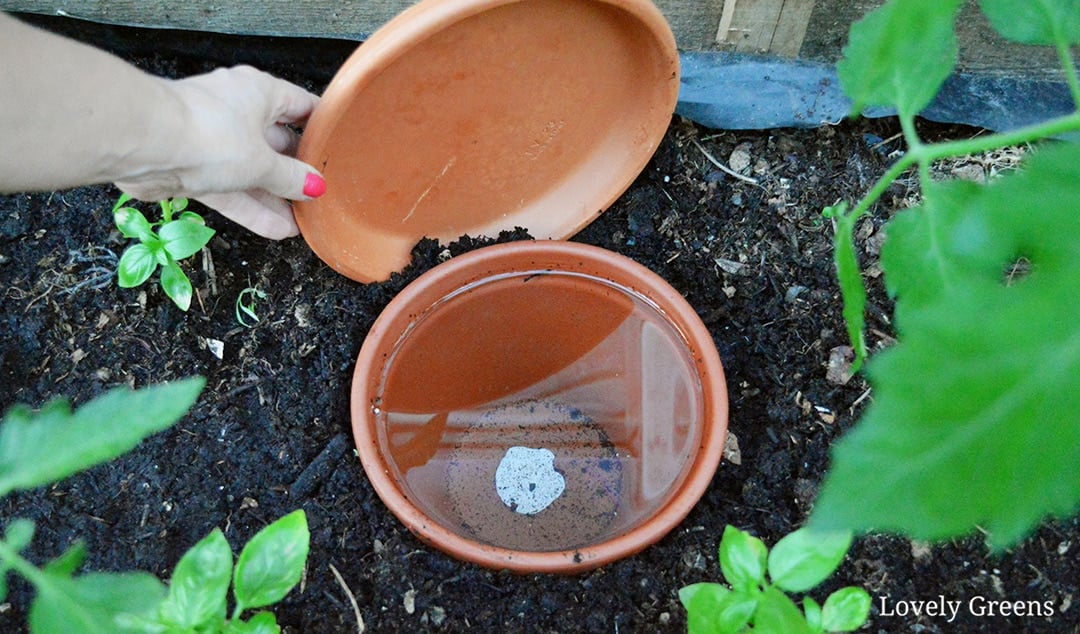
You can make your own olla. Use a regular, unglazed terracotta pot and matching saucer – water should not bead up on the pot, but soak in quickly. Scrub the pots well to remove any surface sealer.
Use a single unglazed terracotta clay pot and saucer in two different ways:
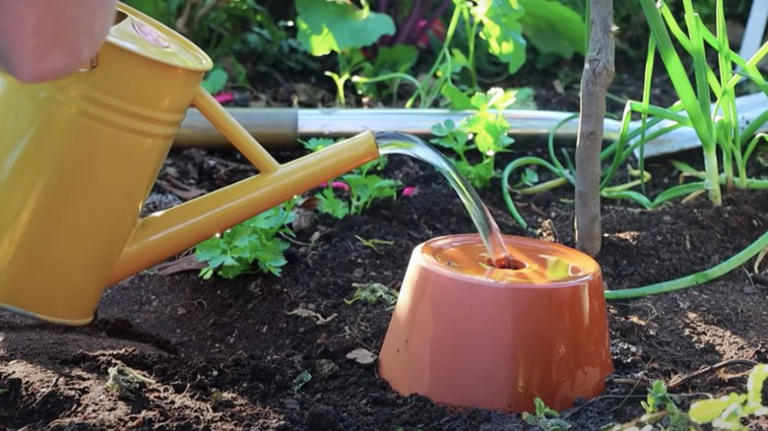
- Turn the pot upside down and attach it to the saucer using a weatherproof silicone sealer. After waiting for the sealant to dry, test the vessel for leaks by filling the pot with water through the drainage hole in what is now the top. If the pot does not leak bury it in your garden with the drainage hole on top. Fill with water, then plug the hole with a cork or a piggybank plug to stop evaporation.
2. You can also use the pot in its normal orientation to create an olla. Insert a stopper or piggybank plug into the drainage hole and secure with weatherproof silicone sealer. After waiting the recommended time, test the vessel for leaks by filling the pot with water. Bury the pot in your garden plot or container garden and place the pot saucer on top to keep debris out and prevent evaporation.
A single 4” terracotta pot olla might hold ¼ gallon of water.
A single 6” terracotta pot olla might hold ½ gallon of water.
A single 8” terracotta pot olla might hold a gallon of water.
A larger water vessel can be created by plugging the drainage hole in one pot and upending the second pot to secure the top edges with a weatherproof silicone sealer. After waiting for the sealant to dry, test the vessel for leaks by filling the pot with water. If the pot does not leak bury it in your garden with the drainage hole on top. Fill with water, then plug the hole with a cork or decorative bottle stopper to prevent evaporation.
A double 4” terracotta pot olla might hold ½ gallon of water.
A double 6” terracotta pot olla might hold a gallon of water.
A double 8” terracotta pot olla might hold two gallons of water.
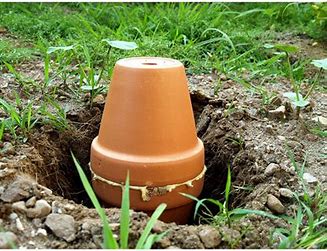
Once you’ve bought or made your DIY ollas, you must place them in the right spot. That means thinking about how extensive the root systems of your plants are because they need to be reasonably close to the olla for them to work.
Ollas are best suited for watering large vegetable plants such as tomatoes, eggplants, and beans. They’re also great for watering young trees and shrubs in their first year! You can also grow smaller vegetables around them, too, but you’ll need to plant them within a couple of inches of the pot. You might squeeze lettuce around one olla with several chard plants. Watercress thrives if you grow it around an olla.
Put ollas between tomato plants, with one olla for two plants two feet apart. It would be one olla per plant for plants that need more growing space, like squash, melons, and pumpkins. Larger vegetable plants can be a foot away from the olla since their roots can still reach the ollas.
In late fall, after the last of your vegetables, pull out the ollas and clean them inside and out. Because they are porous, they can crack if they absorb moisture and then freeze. Remove them from the ground and store them over the winter.
As water becomes more scarce across the planet, we will need to practice more sustainable garden watering methods. Try some ollas this growing season and see what a difference it makes for your plants.